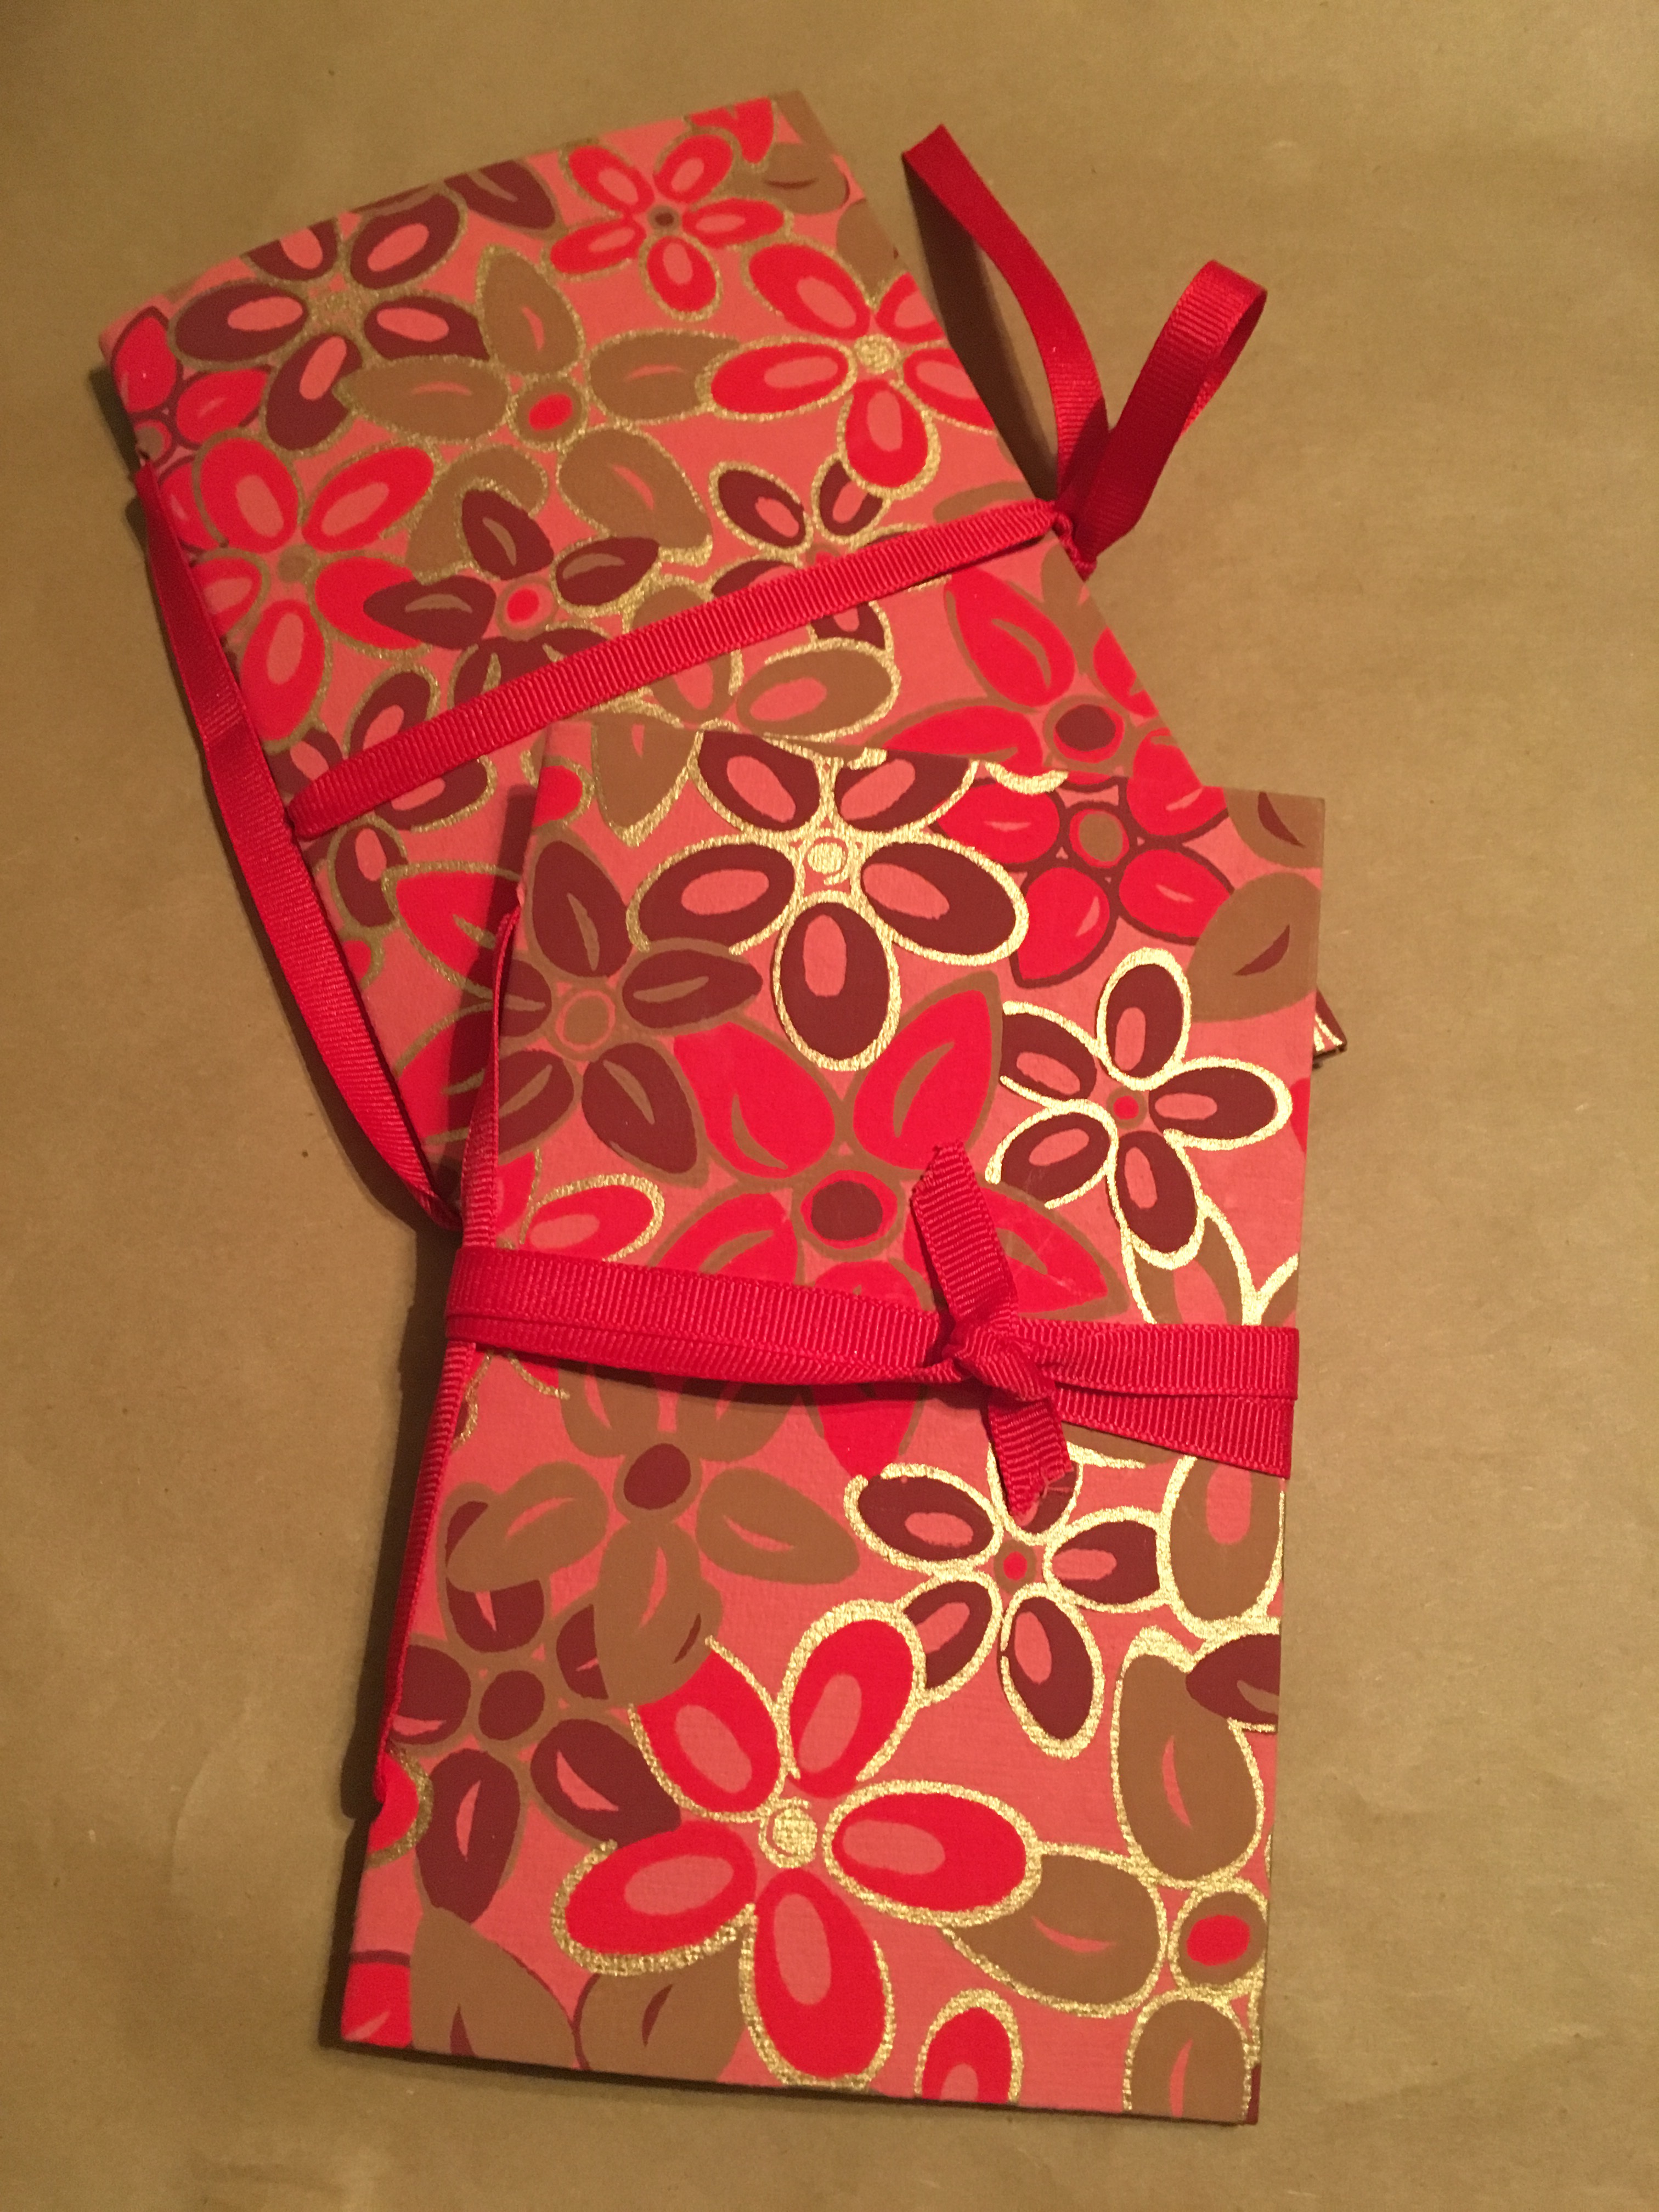
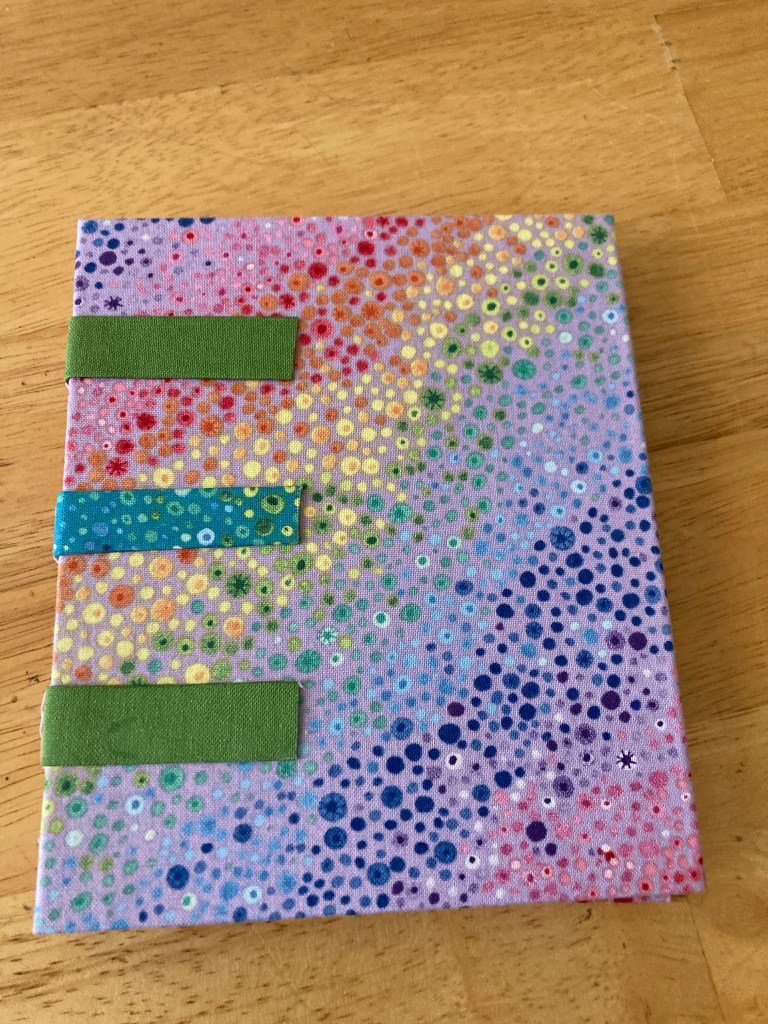
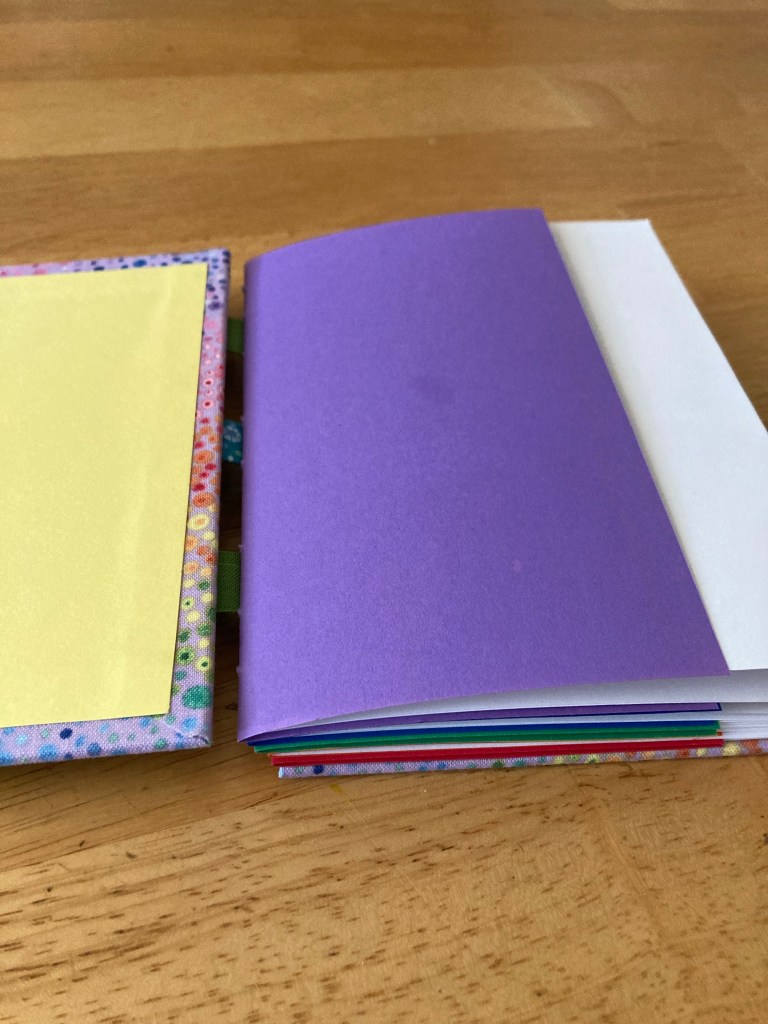
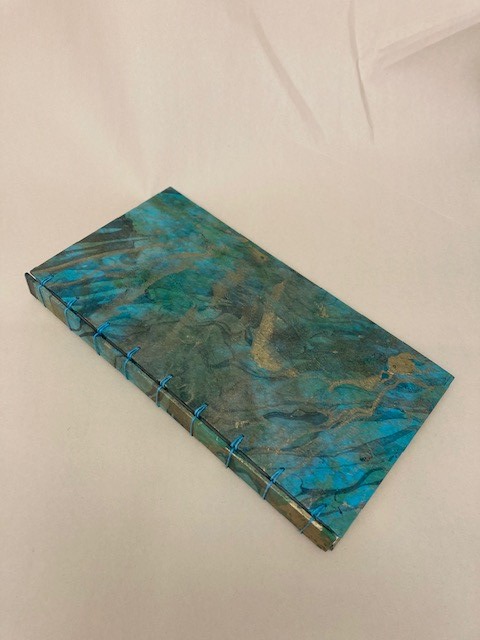
This book, for a family friend, took waaaay too long to finish. I had a long, unproductive winter and was finally able to put this all together at my recent art retreat.
mixed-media artist Yvette Rosenberg
This book, for a family friend, took waaaay too long to finish. I had a long, unproductive winter and was finally able to put this all together at my recent art retreat.
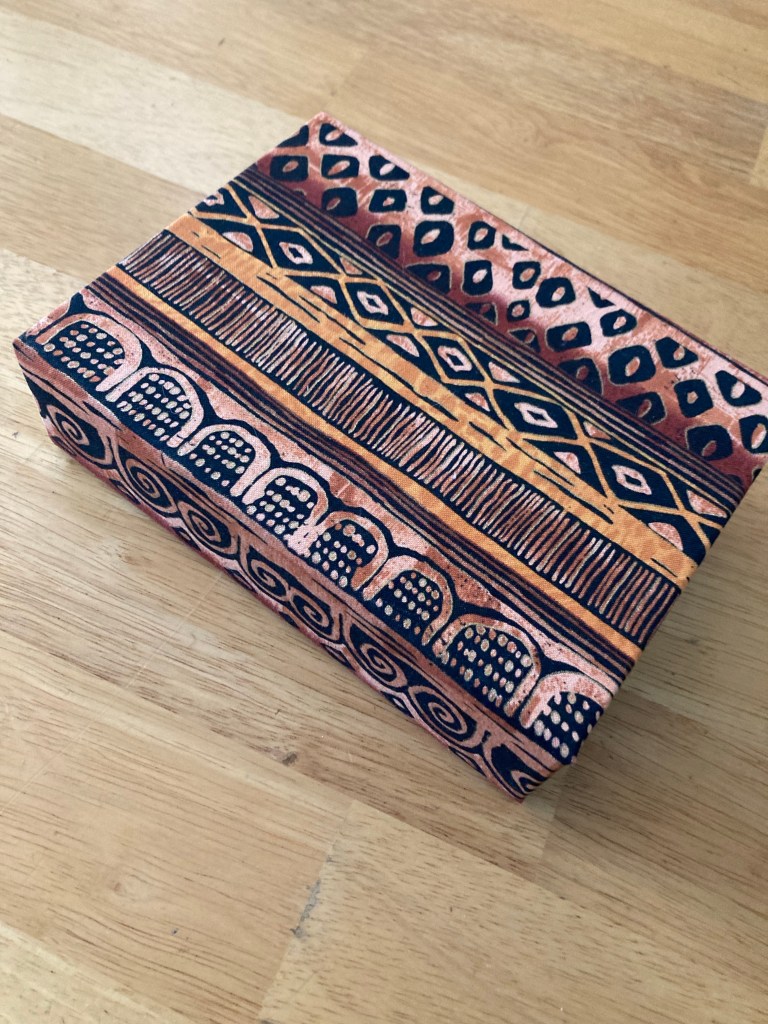
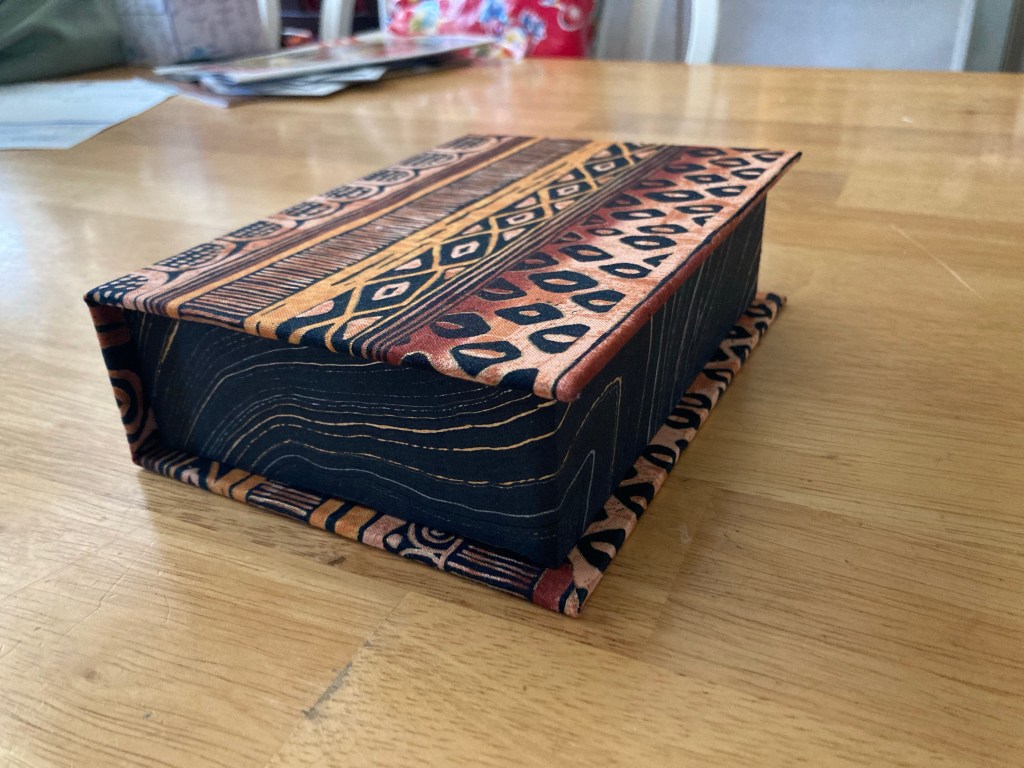
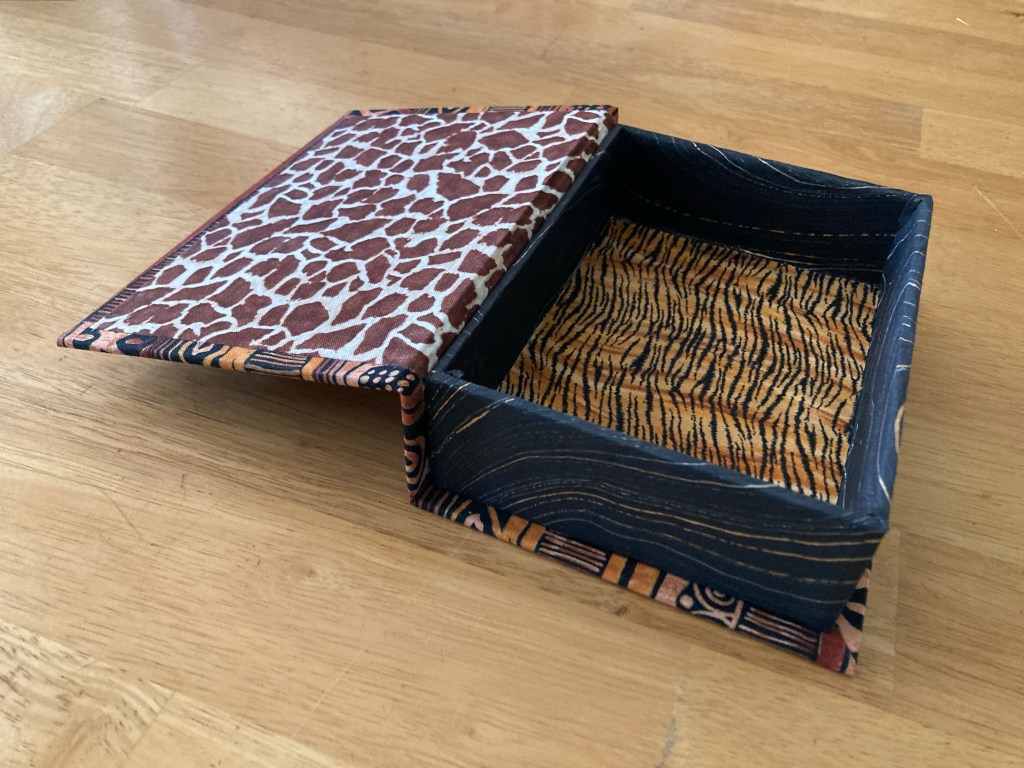
This safari box was a long time in the making. For some reason I put off gluing clamshell-style boxes together because I’m worried I’ll get them crooked. Fortunately, this one came together smoothly. These aren’t colors or patterns I typically use, but I really like how this box turned out.

A couple months ago I had to move out of my studio and gallery space. The owner sold the building. While I understand the decision, I was terribly sad to lose that dedicated space to work on my numerous projects. I didn’t fully appreciate how many unfinished projects has accumulated on my shelves.
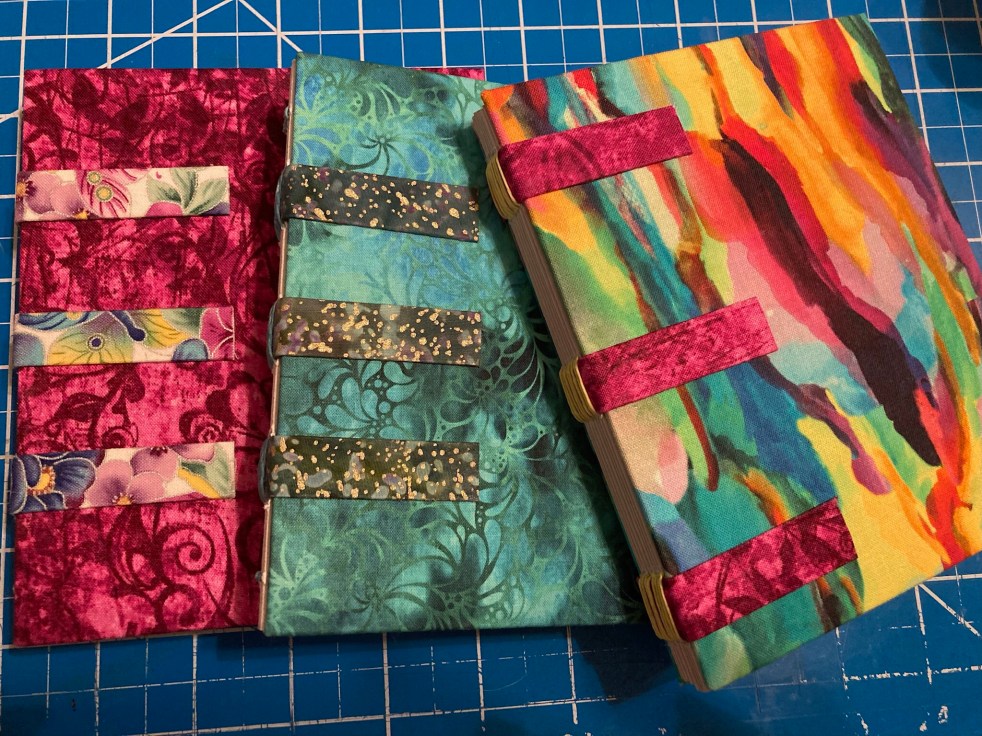
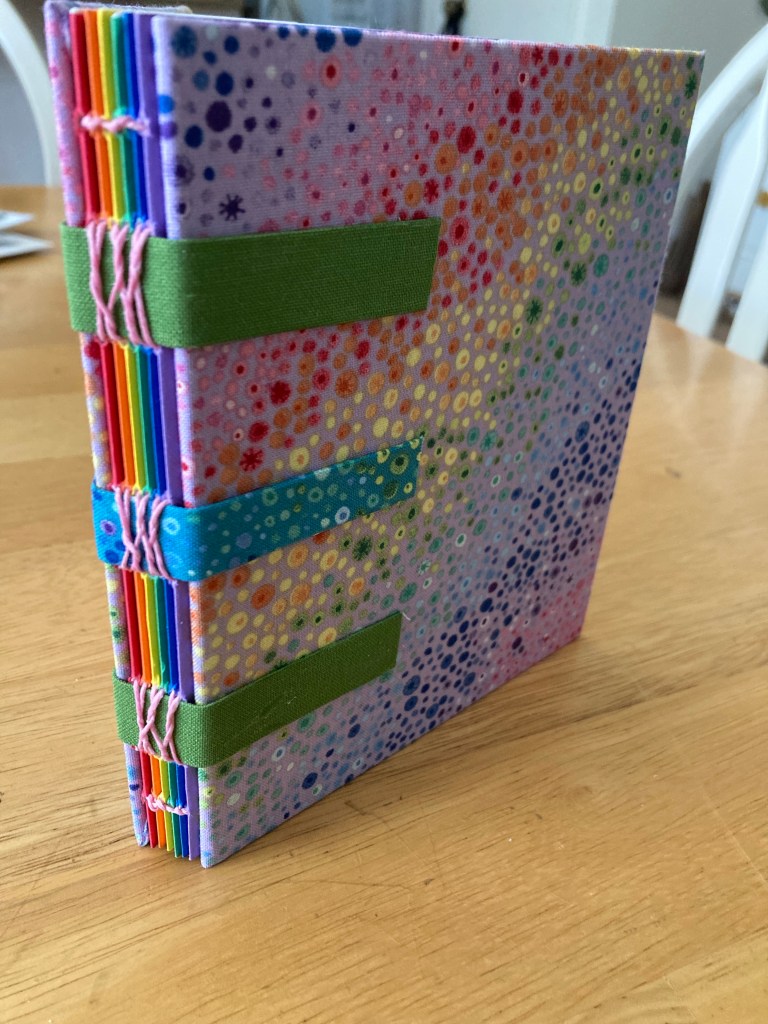
So, an artist friend and I rented a house in a remote area of northern New Mexico, in the Sangre de Cristo mountains. We stayed for the better part of a week and both were incredibly productive. My next few posts will show what I created. It was a relief to get some of these pieces finished. The retreat was fun and fulfilling. We may do it again.
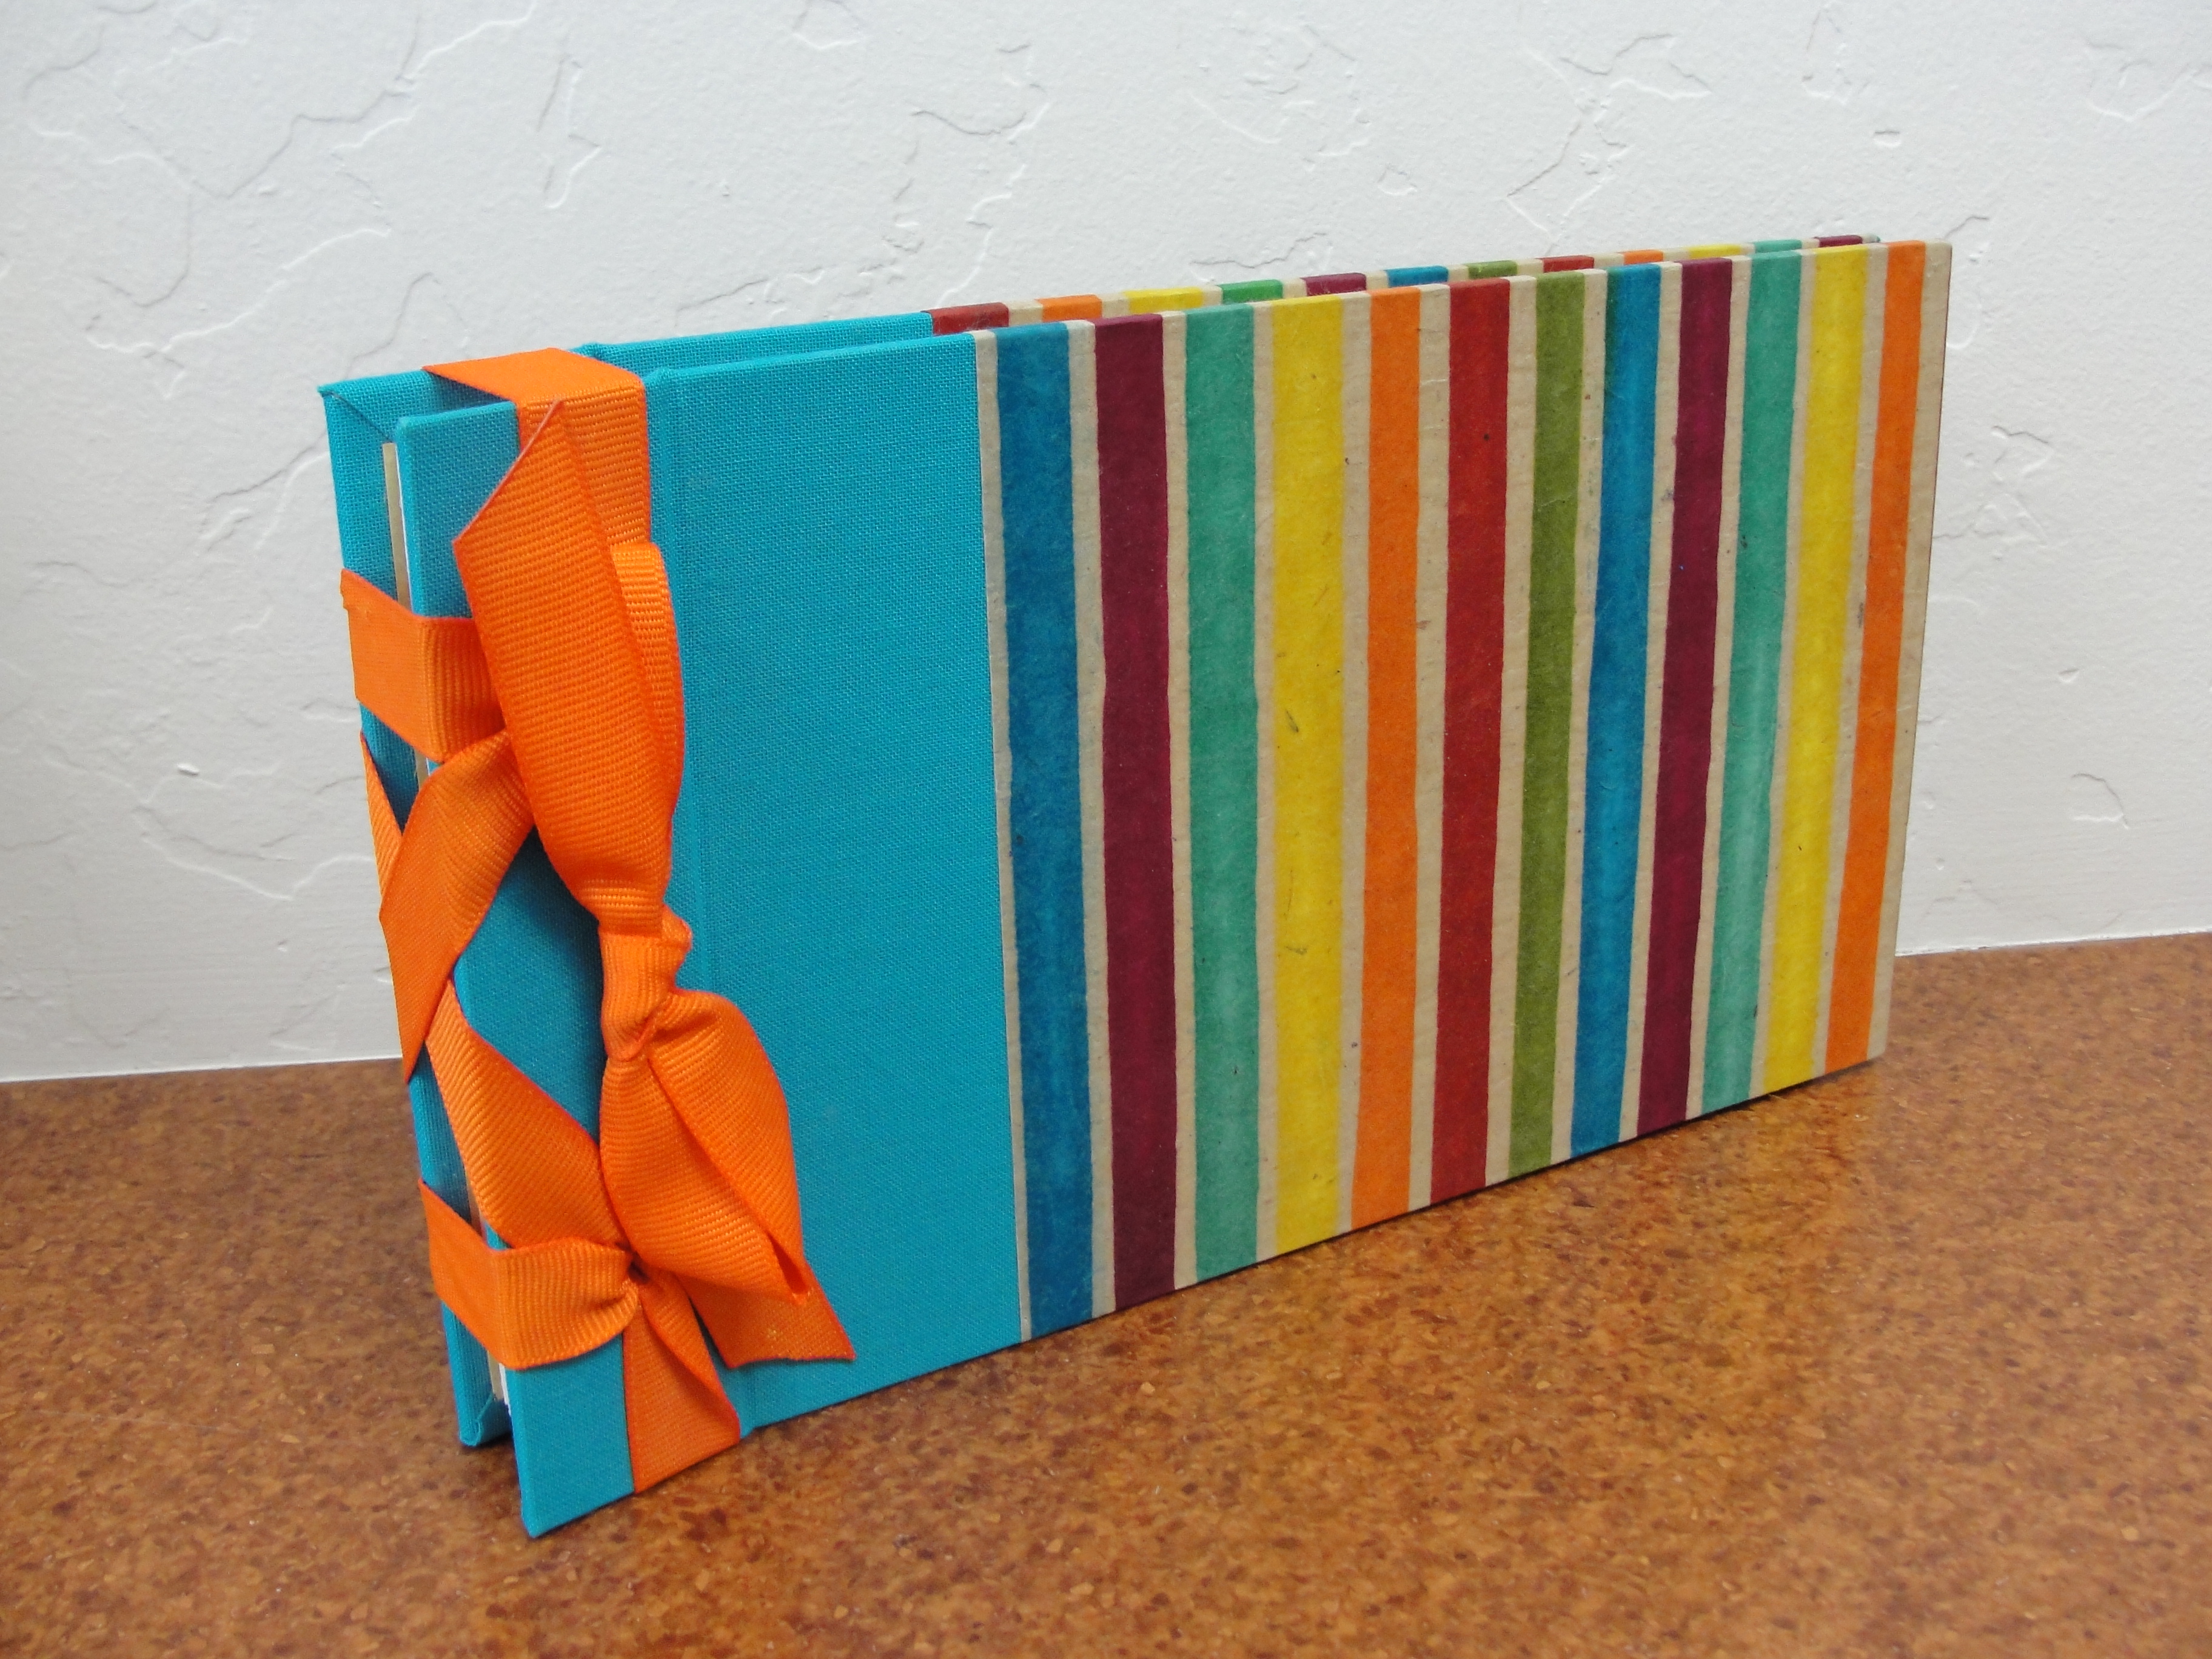
Here are a few of the books that’s I’ll have on display at our art show in December. The first two photos are of the Secret Belgian Binding technique. These are some of my favorite books to make.


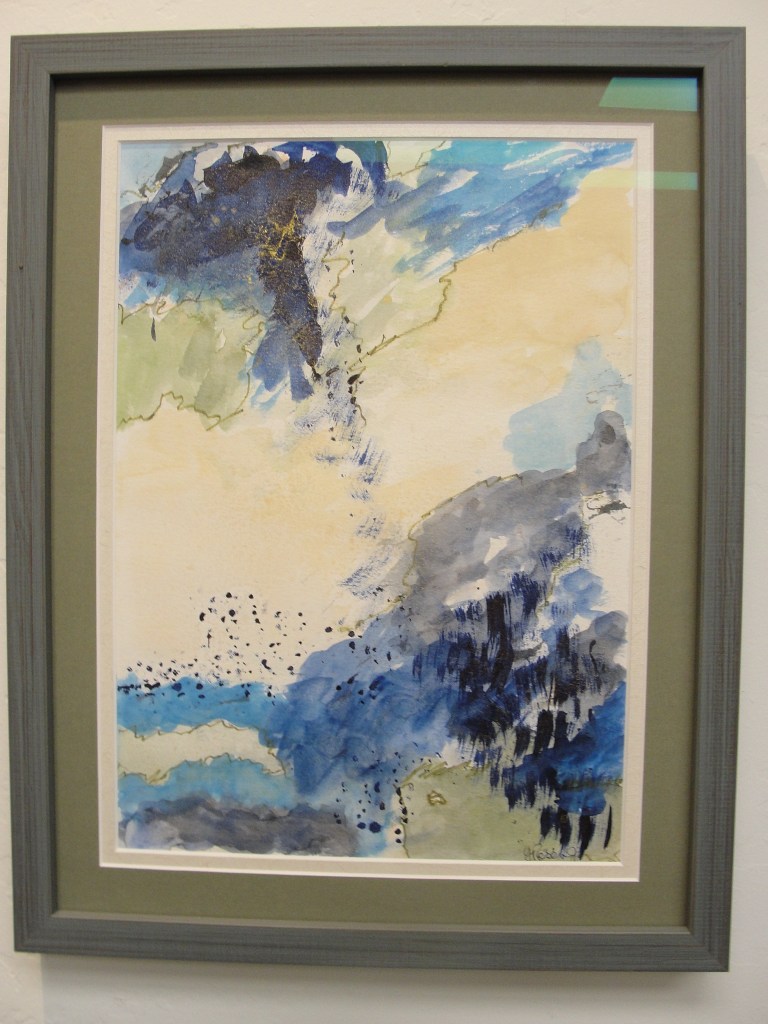
“Waterfall” is now hanging in the Aways North gallery in Albuquerque. We’ll have a show sometime during the holiday season. More info on the gallery can be found at www.awaysnorth.com.
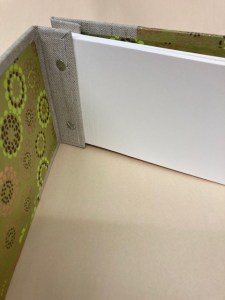
This style of album is a rare one for me. It is post bound, rather than the usual stitched or ribbon bound styles I’m most accustomed to. The sturdy, finished album looks nice.

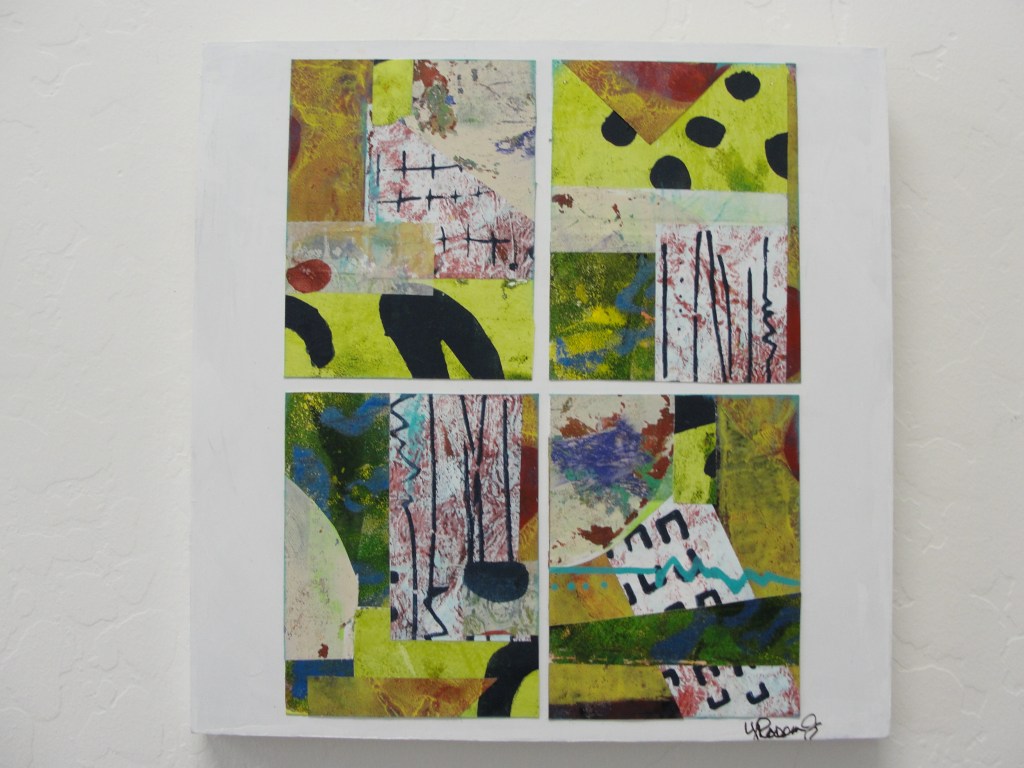
I make few pieces that hang on the wall. Unless you like to hang books. “Peony” is one of those few pieces.

A few months ago I started working out of a space in the Aways North Art Studios in Albuquerque. http://www.awaysnorth.com
It’s a relaxing place run by a lovely artist. In addition to a studio where I can work, I have access to a gallery space. In a couple of weeks I will participate in my first ever show. Until then I’m learning all I can from the more experienced artists around me and making sure that my work is ready for the public eye. Here is a sampling of what I’ll be showing.

Over the winter I started making books at a feverish pace. Currently there are 30 completed books ready to be put up in the gallery – more details on the gallery soon.
I made all of the bookcloth and stitched pages into each book.

I seem to be going through a book phase. Part of it stems from my love for the store in Albuquerque called Creative Culture. They carry a gorgeous selection of Nepalese paper, among other cards and gift items. *Edit – Creative Culture is now closed and sorely missed.*
These books were created from a kit. They are Tibetan style books put together with a pamphlet stitch.